Saturday, August 27, 2011

Stitch of the Week: Fancy


The Fancy stitch is a stunning decorative stitch that is very effective when using two different threads. It looks especially good when used on waterfalls, rivers, paths, gardens, mountains, patios, porch lattices, victorian gingerbread house trim, wallpaper, borders, and clothing. Consider using an overdyed thread with a complimentary solid in Flair, perle, stranded cotton or silk.

For a dramatic effect, combine a metallic with silk, cotton or wool as shown below.

For a shimmery effect, combine Frosty Rays with Flair as shown below.

Tuesday, August 23, 2011

Needlework Accessory Kits

Button and Earring

Cross stitch and Embroidery Kits


We have just released a big selection of kits we developed here in the shop! We were so inspired by some of the cross-stitch, embroidery, and needlepoint accessories we've been seeing lately (which you can see in this past blog entry of ours) that we thought it would be fun to make up kits so that you guys can make your own stitched earrings and pins! I've been working on these kits for the last two months, and they're finally finished and ready to sell on the floor!

We have a good selection of designs in cross stitch and embroidery, and soon we'll have some needlepoint ones featuring special stitches, so no matter what your favorite stitch method is you'll find something fun! Above is a picture of me wearing the pie earrings, which feature two different types of pie! One side
is cherry, and the other is blueberry! There are cherry, pineapple, and strawberry earring kits, and soon there will be an apple earring kit too! For buttons, we have an adorable cupcake kit which you can see to the right. There's also a darling sparrow, bunny, and a banana which you can see below! These are only a few of the delightful designs we have. There are more in the store.

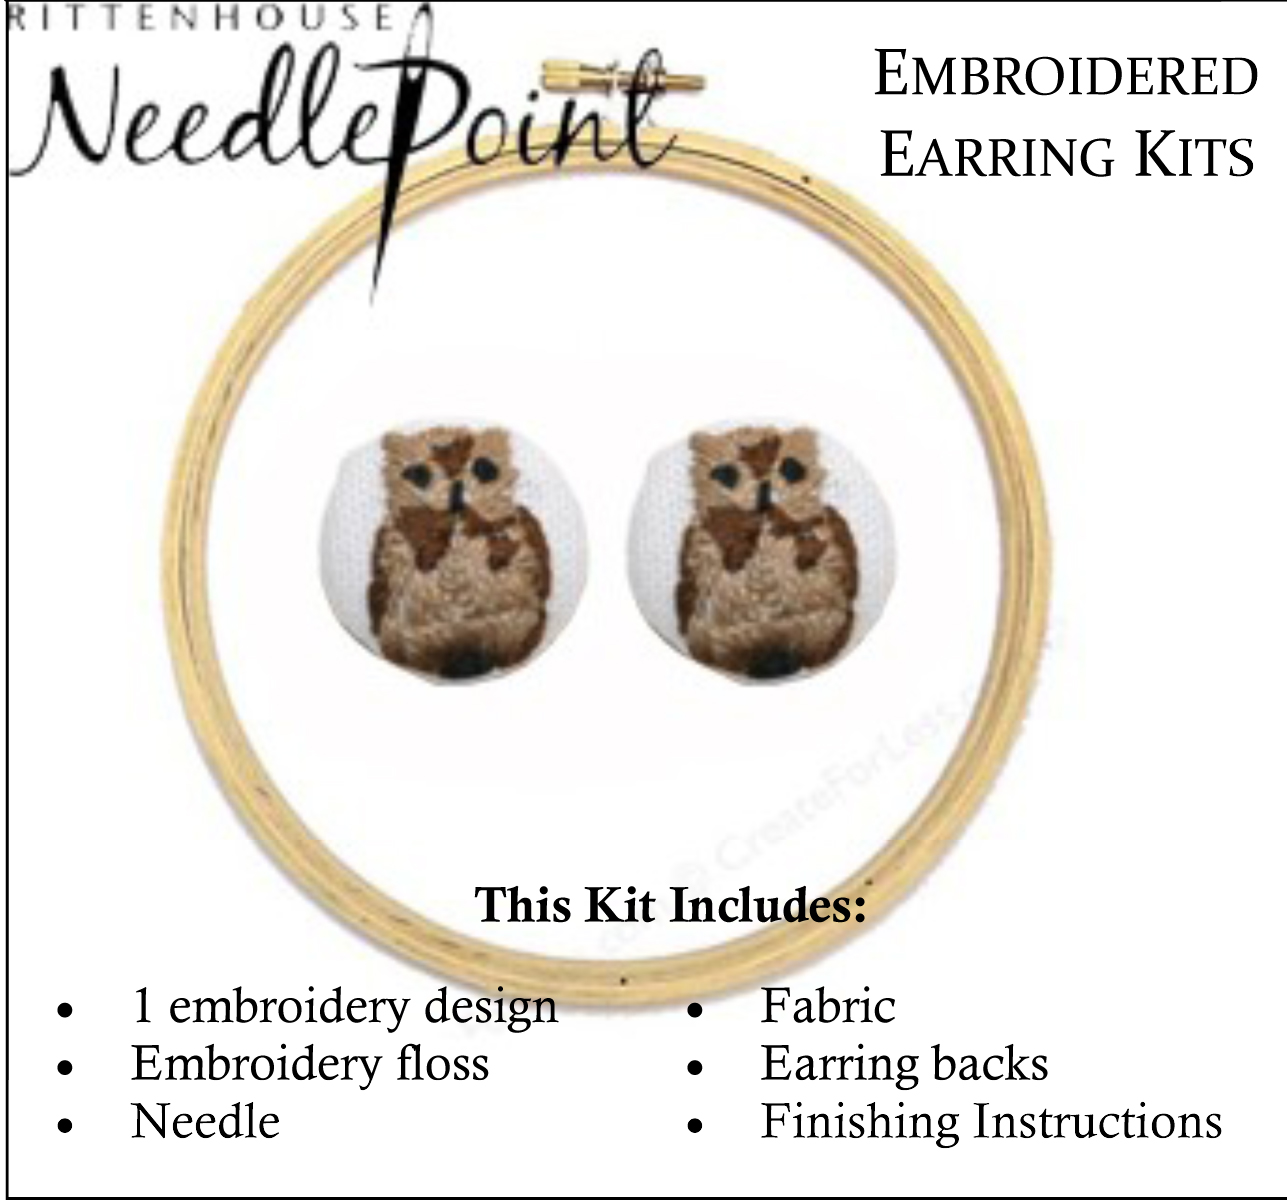
All of the kits include an embroidery or cross stitch
design/pattern, thread, finishing instructions, stitching instructions for beginners, a needle, fabric, earring backs for the earrings, and a pin back for the pins. The cover button maker kit is sold separately, but the great thing is that each button maker kit has at least 4 buttons included, so you could get a few designs, and do them all with only one cover button maker! These kits are really affordable and are a ton of fun to make. It's really satisfying to know that you made something that you'll be able to wear!

I hope you like these and will hopefully come in and try your hand at one of these kits!

Saturday, August 20, 2011

Stitch of the Week: Dutch


This week we're focusing on the Dutch stitch. This stitch can create a really dramatic look on your needlepoint canvas depending on the fibers you choose. It can be worked all in the same color or with a different color or thread for the tie-down.

This stitch would be excellent for baskets, stone walls, shrubbery, mountains, borders, and clothing. I can definitely see this as a pattern on a piece of clothing!


For a really striking look, choose an overdyed thread from lines like Watercolours, Threadworx or Impressions. Select a matching solid color stranded cotton, silk, ribbon or Kreinik for the tie-down. Also think about using two color values of the same or different threads. That would be a nice way to create depth in the piece!

Try this simple but elegant stitch out for yourself! Feel free to show us how it turns out in your piece by posting an image of it in the comments! We'd love to see how you worked with it!

Wednesday, August 10, 2011

Focus on: Neon Rays +


A few months ago we received a few more lines from Rainbow Gallery. One of them was Neon Rays +. Neon Rays is a fantastic ribbon to use in needlepoint and ribbon embroidery. Neon Rays Plus is just as easy and fun to stitch with and has pretty metallic threads imbued in the ribbon. This gives the ribbon a little more sparkle and would make the piece you're working on pop even more. Neon Rays + works best for straight stitches, as this will really highlight the metallic threads in the ribbon. Some special stitches that will make this thread really shine are the cameo stitch, diagonal cashmere (which you can see demonstrated to the right in Chartreuse Neon Rays +), diagonal mosaic, oblique slav, and the rhodes stitch.

Diagonal Cashmere is an easy stitch that really has a nice finished look. It is a great stitch for clothing. Check out the diagram below to learn how to stitch it in your project.

Saturday, August 6, 2011

Focus on: Wool & Hoop


We just received a large shipment of kits, books, and pins from Texas-based shop Wool and Hoop. Wool and Hoop was founded by Katherine Shaughnessy. She is a formally trained artist who, although her mother taught her crewel embroidery at a young age, started using stitching more often in her art in college. She became more interested in embroidery and was searching for fun cool crewel kits when she decided to start making her own. That's how Wool and Hoop was started.

Wool and Hoop's crewel kits are all really fun and have bright colors and designs that are simple enough for beginners (the kits say they are appropriate for ages 8 and up) to learn with but that seasoned stitchers would also find exciting. And, an added plus is that everything you need is inside the kit. It includes linen fabric, wool thread, needles, a blank greeting card and envelope (for finishing), and complete instructions. There's even a free hoop included! The designs are around 3 x 3 inches each, so they are also a great quick project you can stitch up for a really nice personal gift.

Along with the kits, we received Katherine's first book, titled The New Crewel. It's full of interesting information about crewel as well as ideas for projects. Each design featured in her book includes a list of the fabric, thread, stitches, and finishing ideas for that piece. She also adds helpful little crewel tips after each pattern. We also got transfer fabric so you can transfer either your own designs, or the ones you see in her book, and we also got assorted packs of her designs, ready to be ironed onto your fabric of choice! With so many options, it's easy to see how you could end up with a lot of different projects with only one design!

Below see a picture of Mandy, who is stitching one of the kits up as a sample of what it will look like finished and to experience it herself. She's having a lot of fun, and it looks really fun to do as well! I think these kits will be a lot of fun! Come on in and see what they're all about and to get acquainted with crewel work!

Wednesday, August 3, 2011

Stitch of the Week: Trellis Couching


Trellis Couching which is also known as Jacobean Couching and Double Cross Trame'. It is a filling stitch which won't completely cover the canvas. This means that you will see some raw canvas. Like the T Stitch, which was covered in our last Stitch of the Week blog, it is best to use this type of stitch on a canvas with a color that matches the threads you are using. If you're using this stitch in an embroidery project, the color of the fabric would be quite important, whereas if you are doing this on a needlepoint project, you would want the piece you were stitching this over to coordinate. This would ensure that your colors wouldn't clash and the project would look great!

The Trellis stitch is great for baskets, clothing, angel wings, bonnets, fans, lattices, curtains, Christmas packages, kimonos and borders.

An idea for a combination of threads for this project would be to use overdyed for the grid, solid perle cotton or stranded cotton or silk for crosses. You could also use two values of the same color. use a lighter color for the grid and darker for the cross to make this stand out. Also try to opposite! This stitch really lends itself for being creative and mixing colors and threads.